


Introducing
ODYSSEY PRO – Red Edition
Stand out / Look Up
Stand out from the crowd with the striking ODYSSEY PRO Red Edition. Its vibrant color lines isn’t just eye-catching – it’s a statement. Explore the universe in style and REDefine stargazing.
Limited quantities, order yours now
Free express delivery | Up to x24 installments | 30-day return policy
“UNISTELLAR has created a nearly foolproof instrument that even novice skywatchers will have a blast with.”
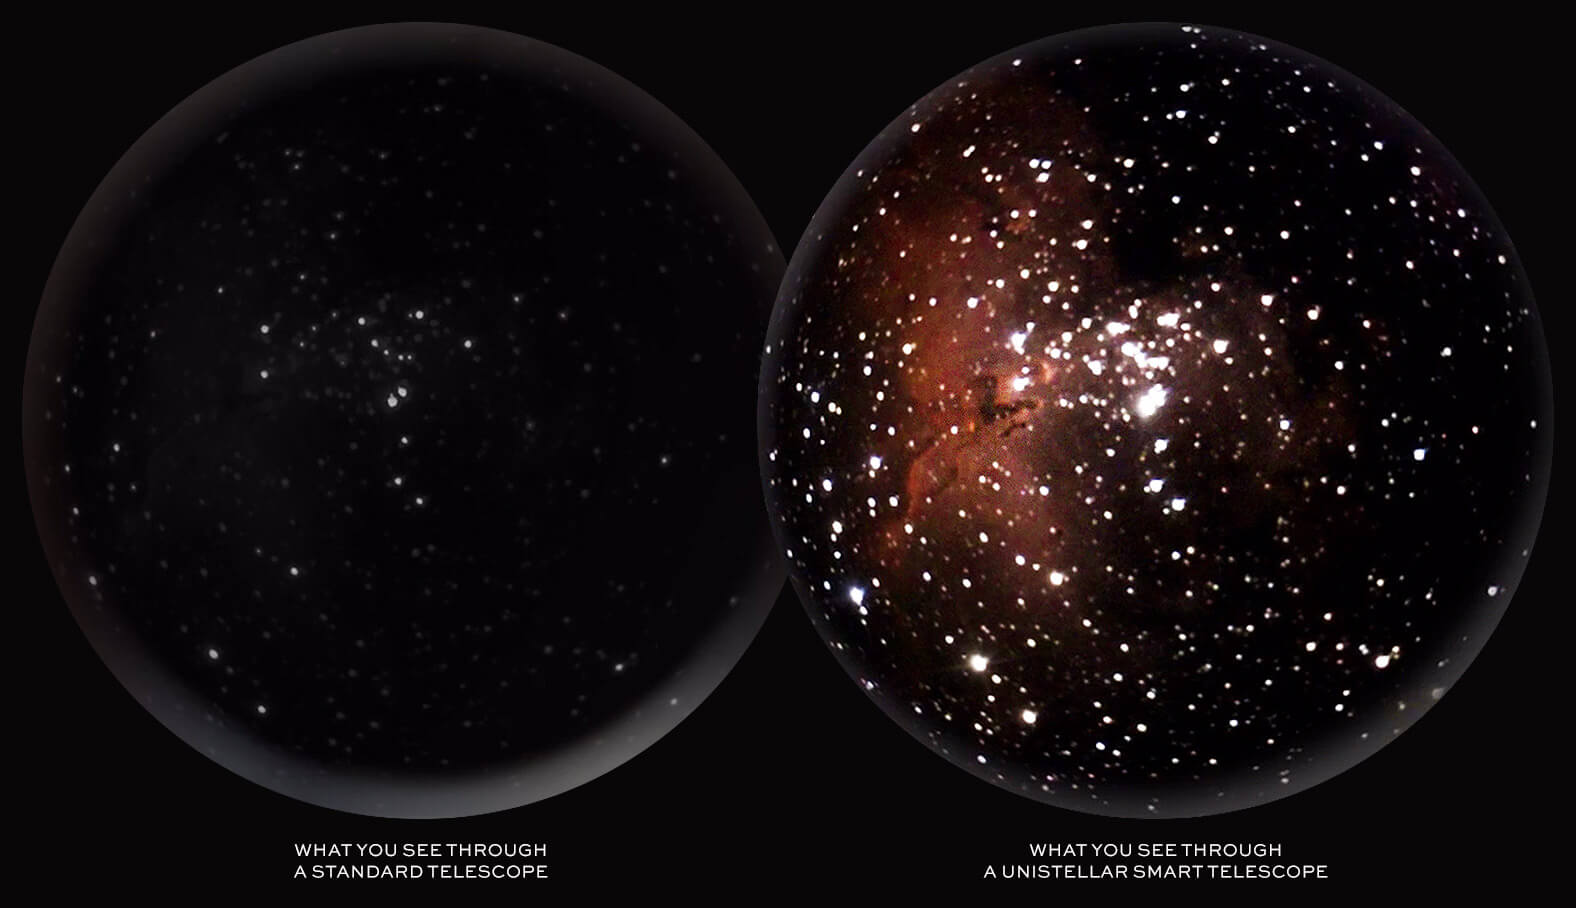
AN UNRIVALLED EXPERIENCE
A true revolution in astronomical observation, UNISTELLAR’s exclusive Dynamic Signal Amplification Technology increases the light signal in real time. The levels of intensity, detail and coloration obtained are unprecedented in the world of consumer telescopes.

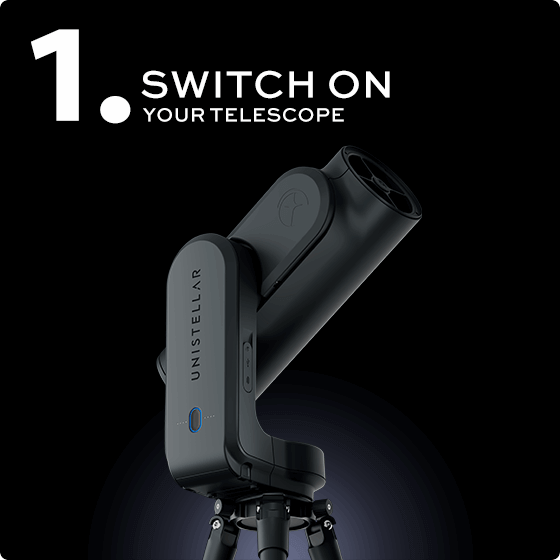
THE COSMOS IN 2 MINUTES
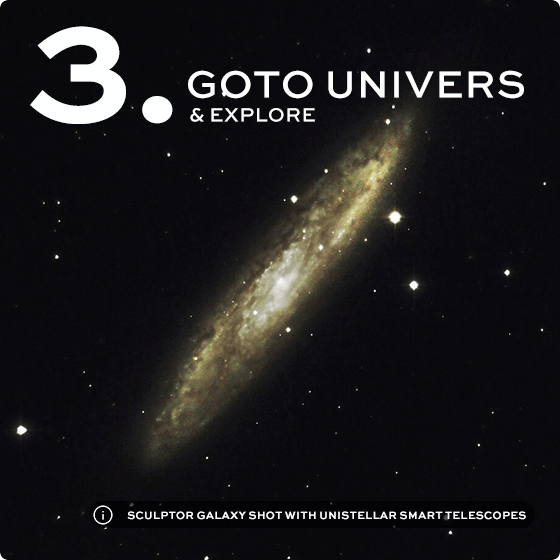
There’s no need to make tedious adjustments, use bulky equipment or plan your observation nights in advance: UNISTELLAR smart telescopes tell you which object to observe according to your position, point at it and follow it automatically.
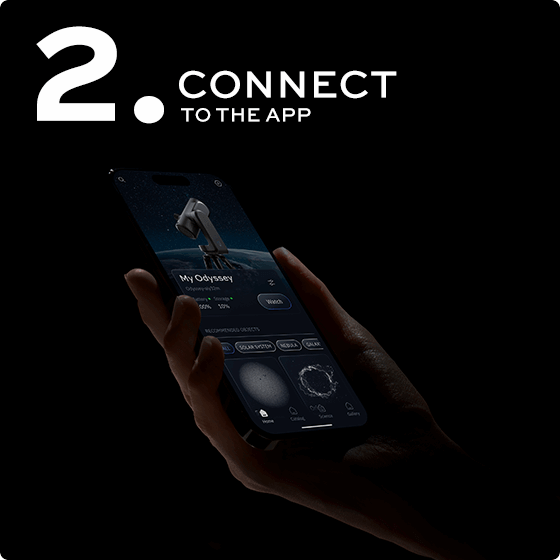
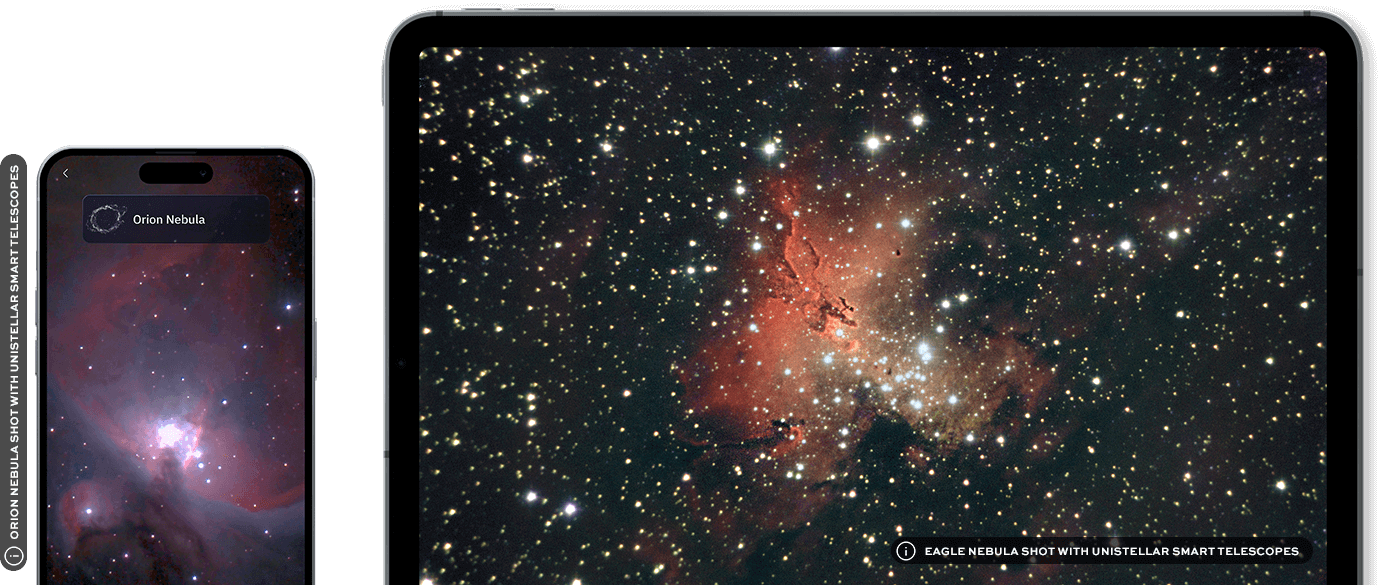
A JOURNEY TO SHARE
Control your smart telescope from your smartphone or tablet with the UNISTELLAR App. Navigate the cosmos, capture your astronomical discoveries with a simple click, and share unforgettable memories with family and friends.
Curiosity Fueled Innovation
Loaded With Advanced Technology
We’re merging advanced engineering with user-friendly design to unlock the mysteries of the universe.

